High-performance Pro Micro-compatible controller
frood
/fru:d/Noun
A really amazingly together guy. E.g. “There’s a frood who really knows where his towel is.”
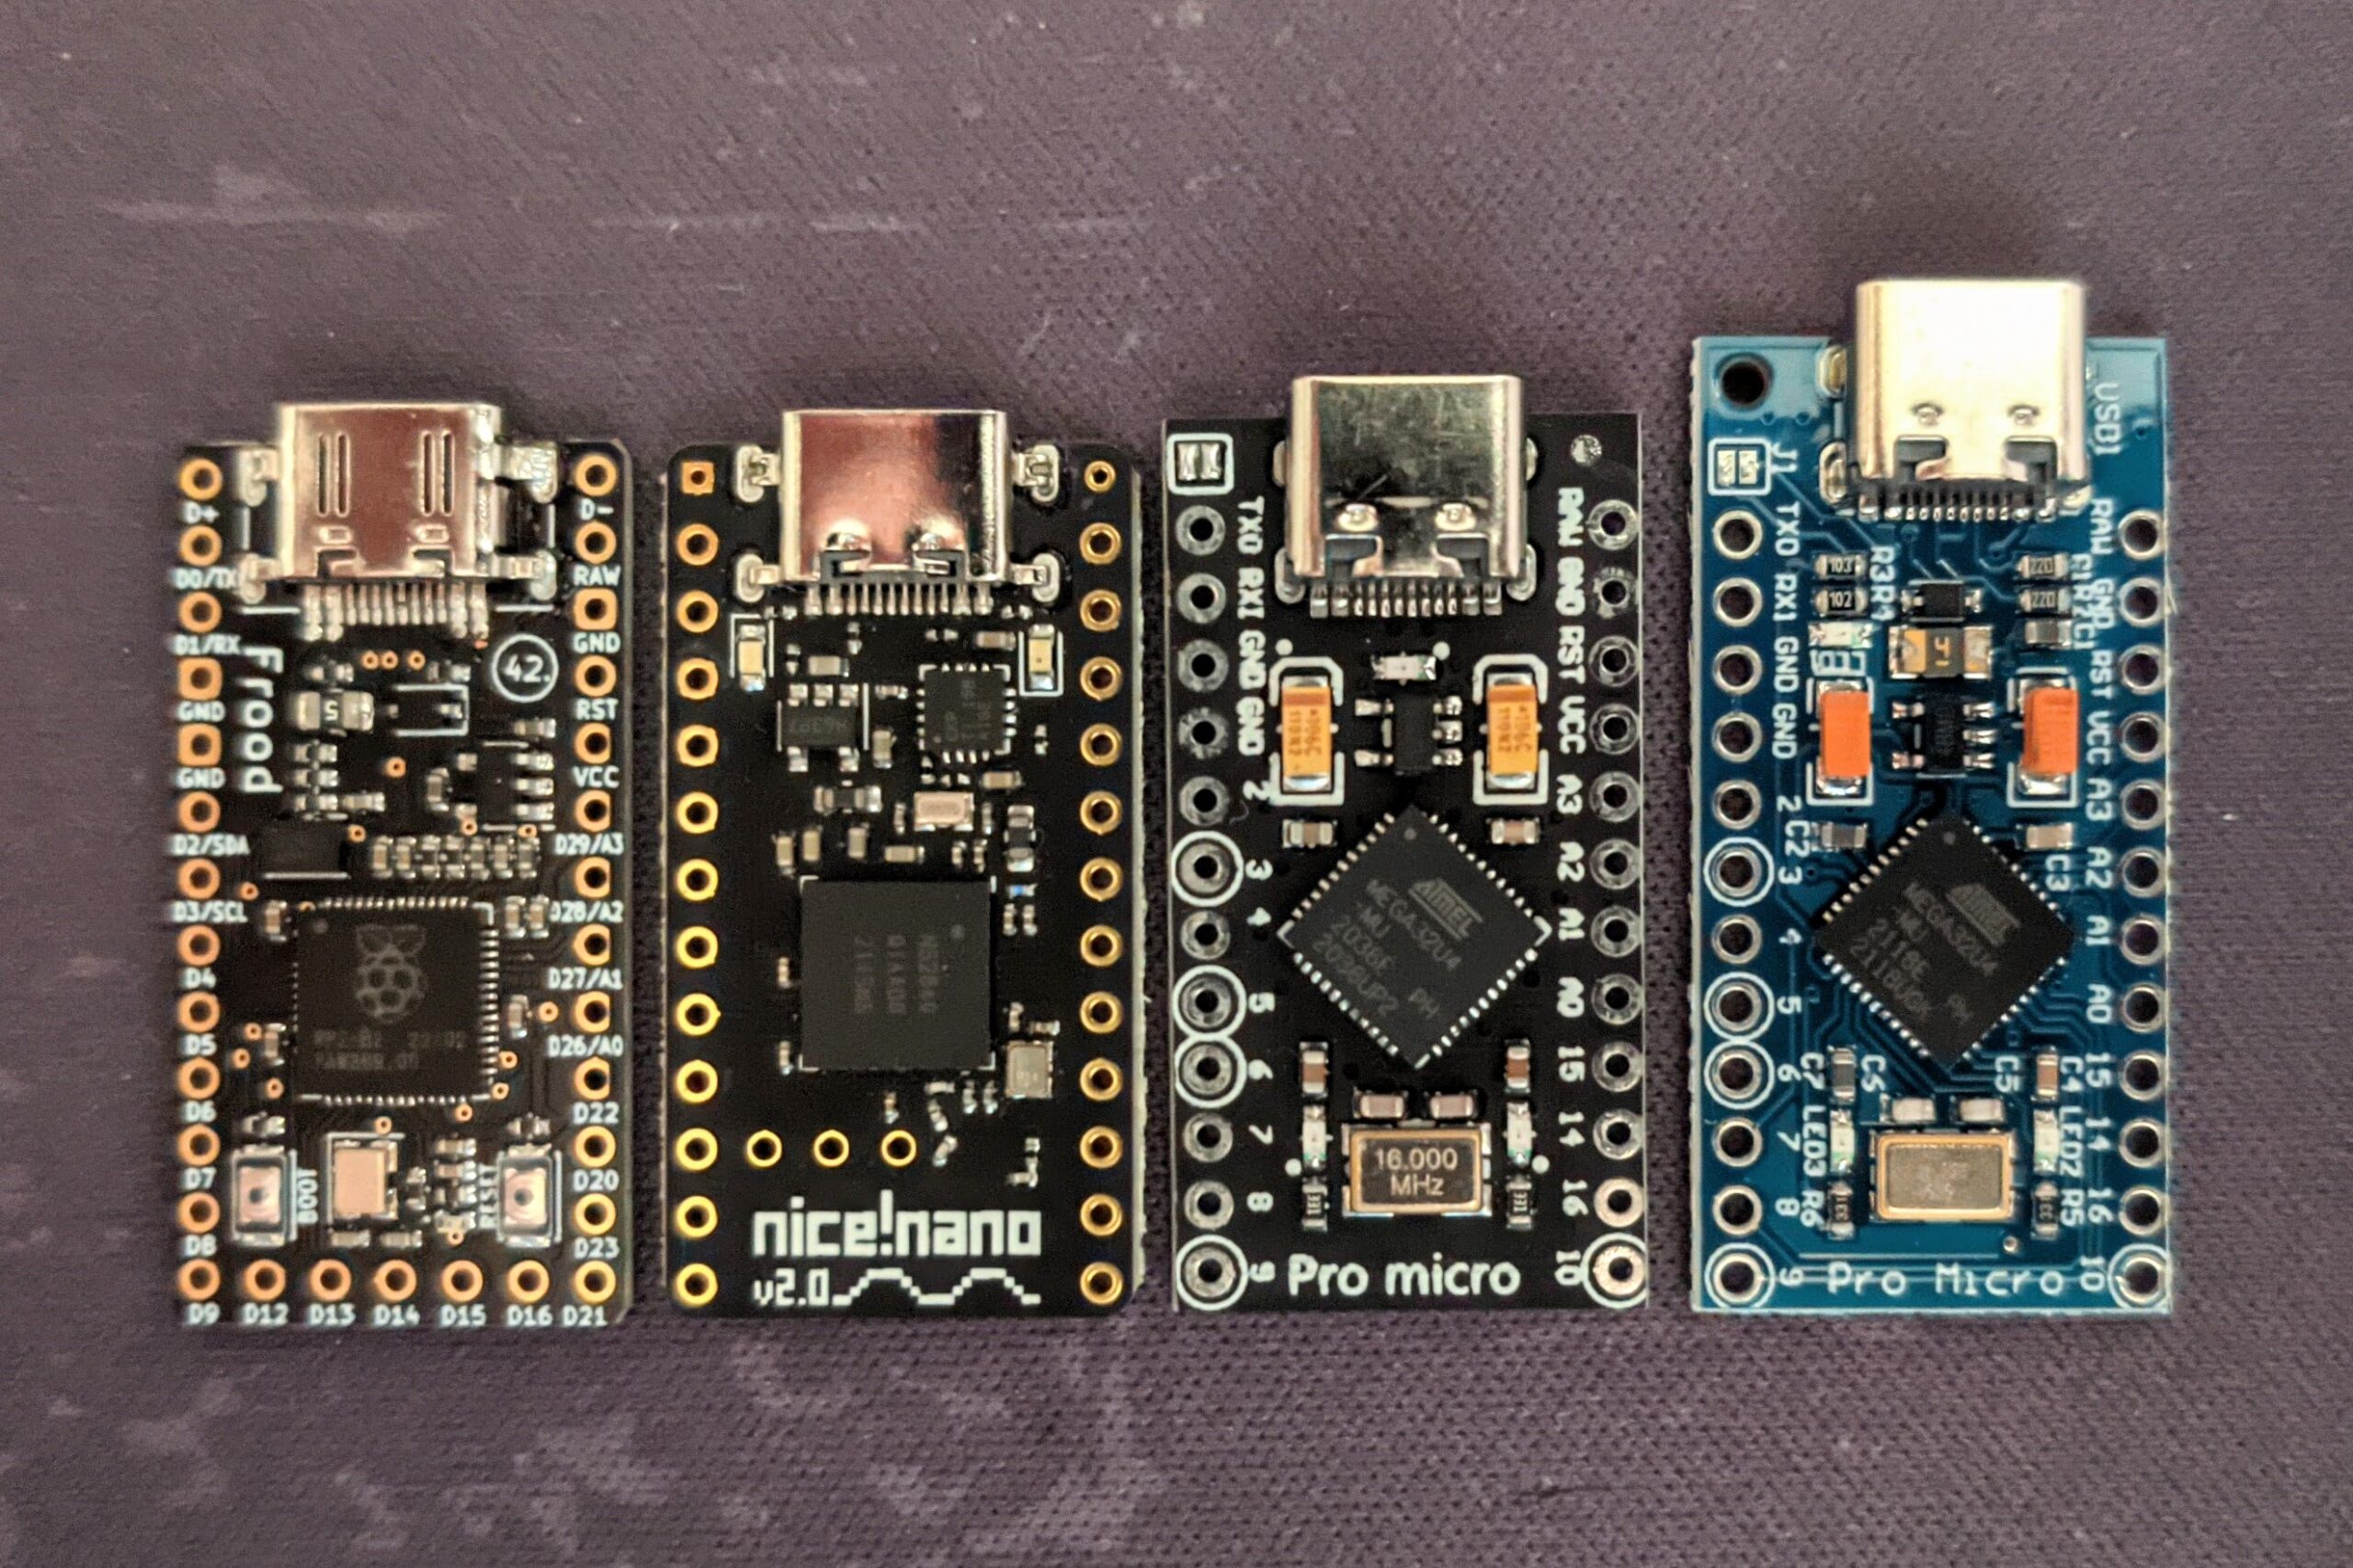
Finally, a powerful and affordable Pro Micro replacement! Designed from scratch and haphazardly prototyped by 42. Keebs 🙂 (GitHub repository)
Features:
- Pinout compatible with the classic Pro Micro
- I/O pin mapping follows SparkFun Pro Micro RP2040 with 5 more digital I/O pins at the bottom (same layout as the Elite-C)
- Two GND pins (4 & 5) can be converted into two more digital I/O pins by cutting PCB jumpers next to the pads
- Powerful dual-core RP2040 32-bit Arm microcontroller with 133 MHz clock speed (8 times the Pro Micro)
- 4 MB (Rev7, Rev6) / 2 MB (Rev5) of flash storage – 128 (or 64) times as much as Pro Micro! Should fit all the RGB animations in the world 🙂
- 256 kB SRAM (10 times as much as Pro Micro)
- Just 3.3 mm thick thanks to a mid-mount USB-C socket that sits flush with the bottom of the PCB
- UF2 bootloader for drag & drop flashing – the bootloader presents a USB flash-like device. No extra software needed!
- Up to 25 digital I/O pins supporting a maximum of 156 switches in a standard 12×13 matrix! Or perhaps a 50% split keyboard (up to 50 switches) with no diodes? 🙂
- 4 pins configurable as analogue input (ADC)
- USB data lines (D+, D-) broken out at the top for daughterboard/external USB-C socket compatibility
- 500 mA on-board 3.3 V regulator
- 500 mA resettable fuse for over-current protection
- USB power (VBUS) connected to digital I/O pin GPIO19 for split keyboard main half detection
- Orange user LED on pin GPIO17 – can be used as an indicator LED for bootloader mode (see below)
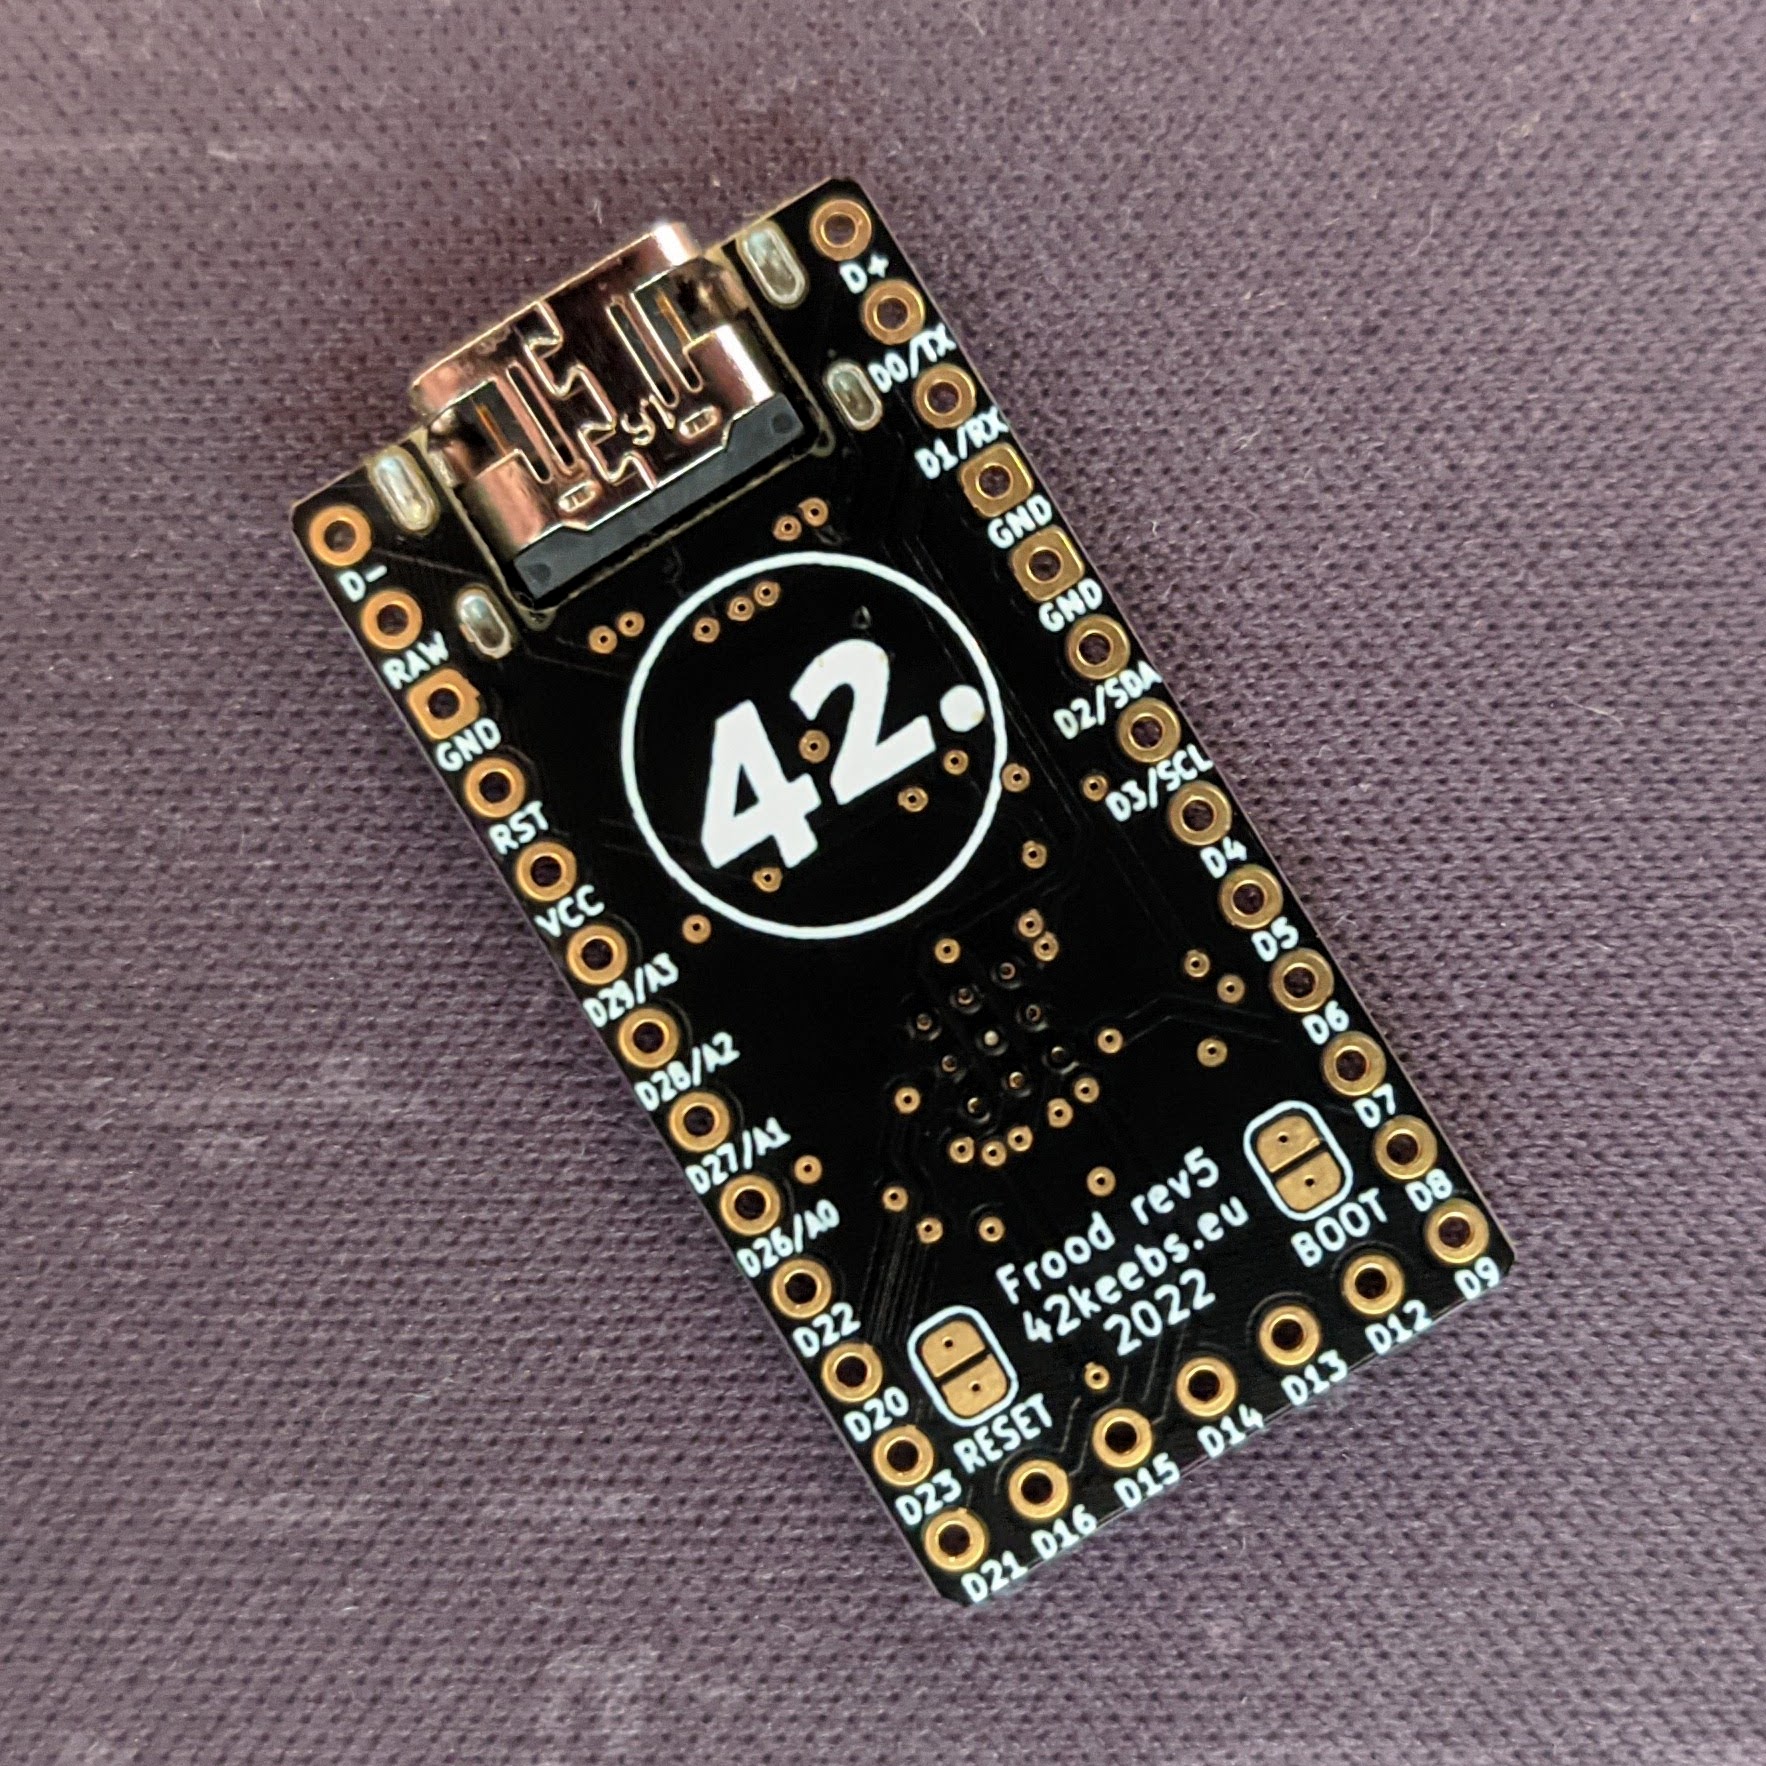
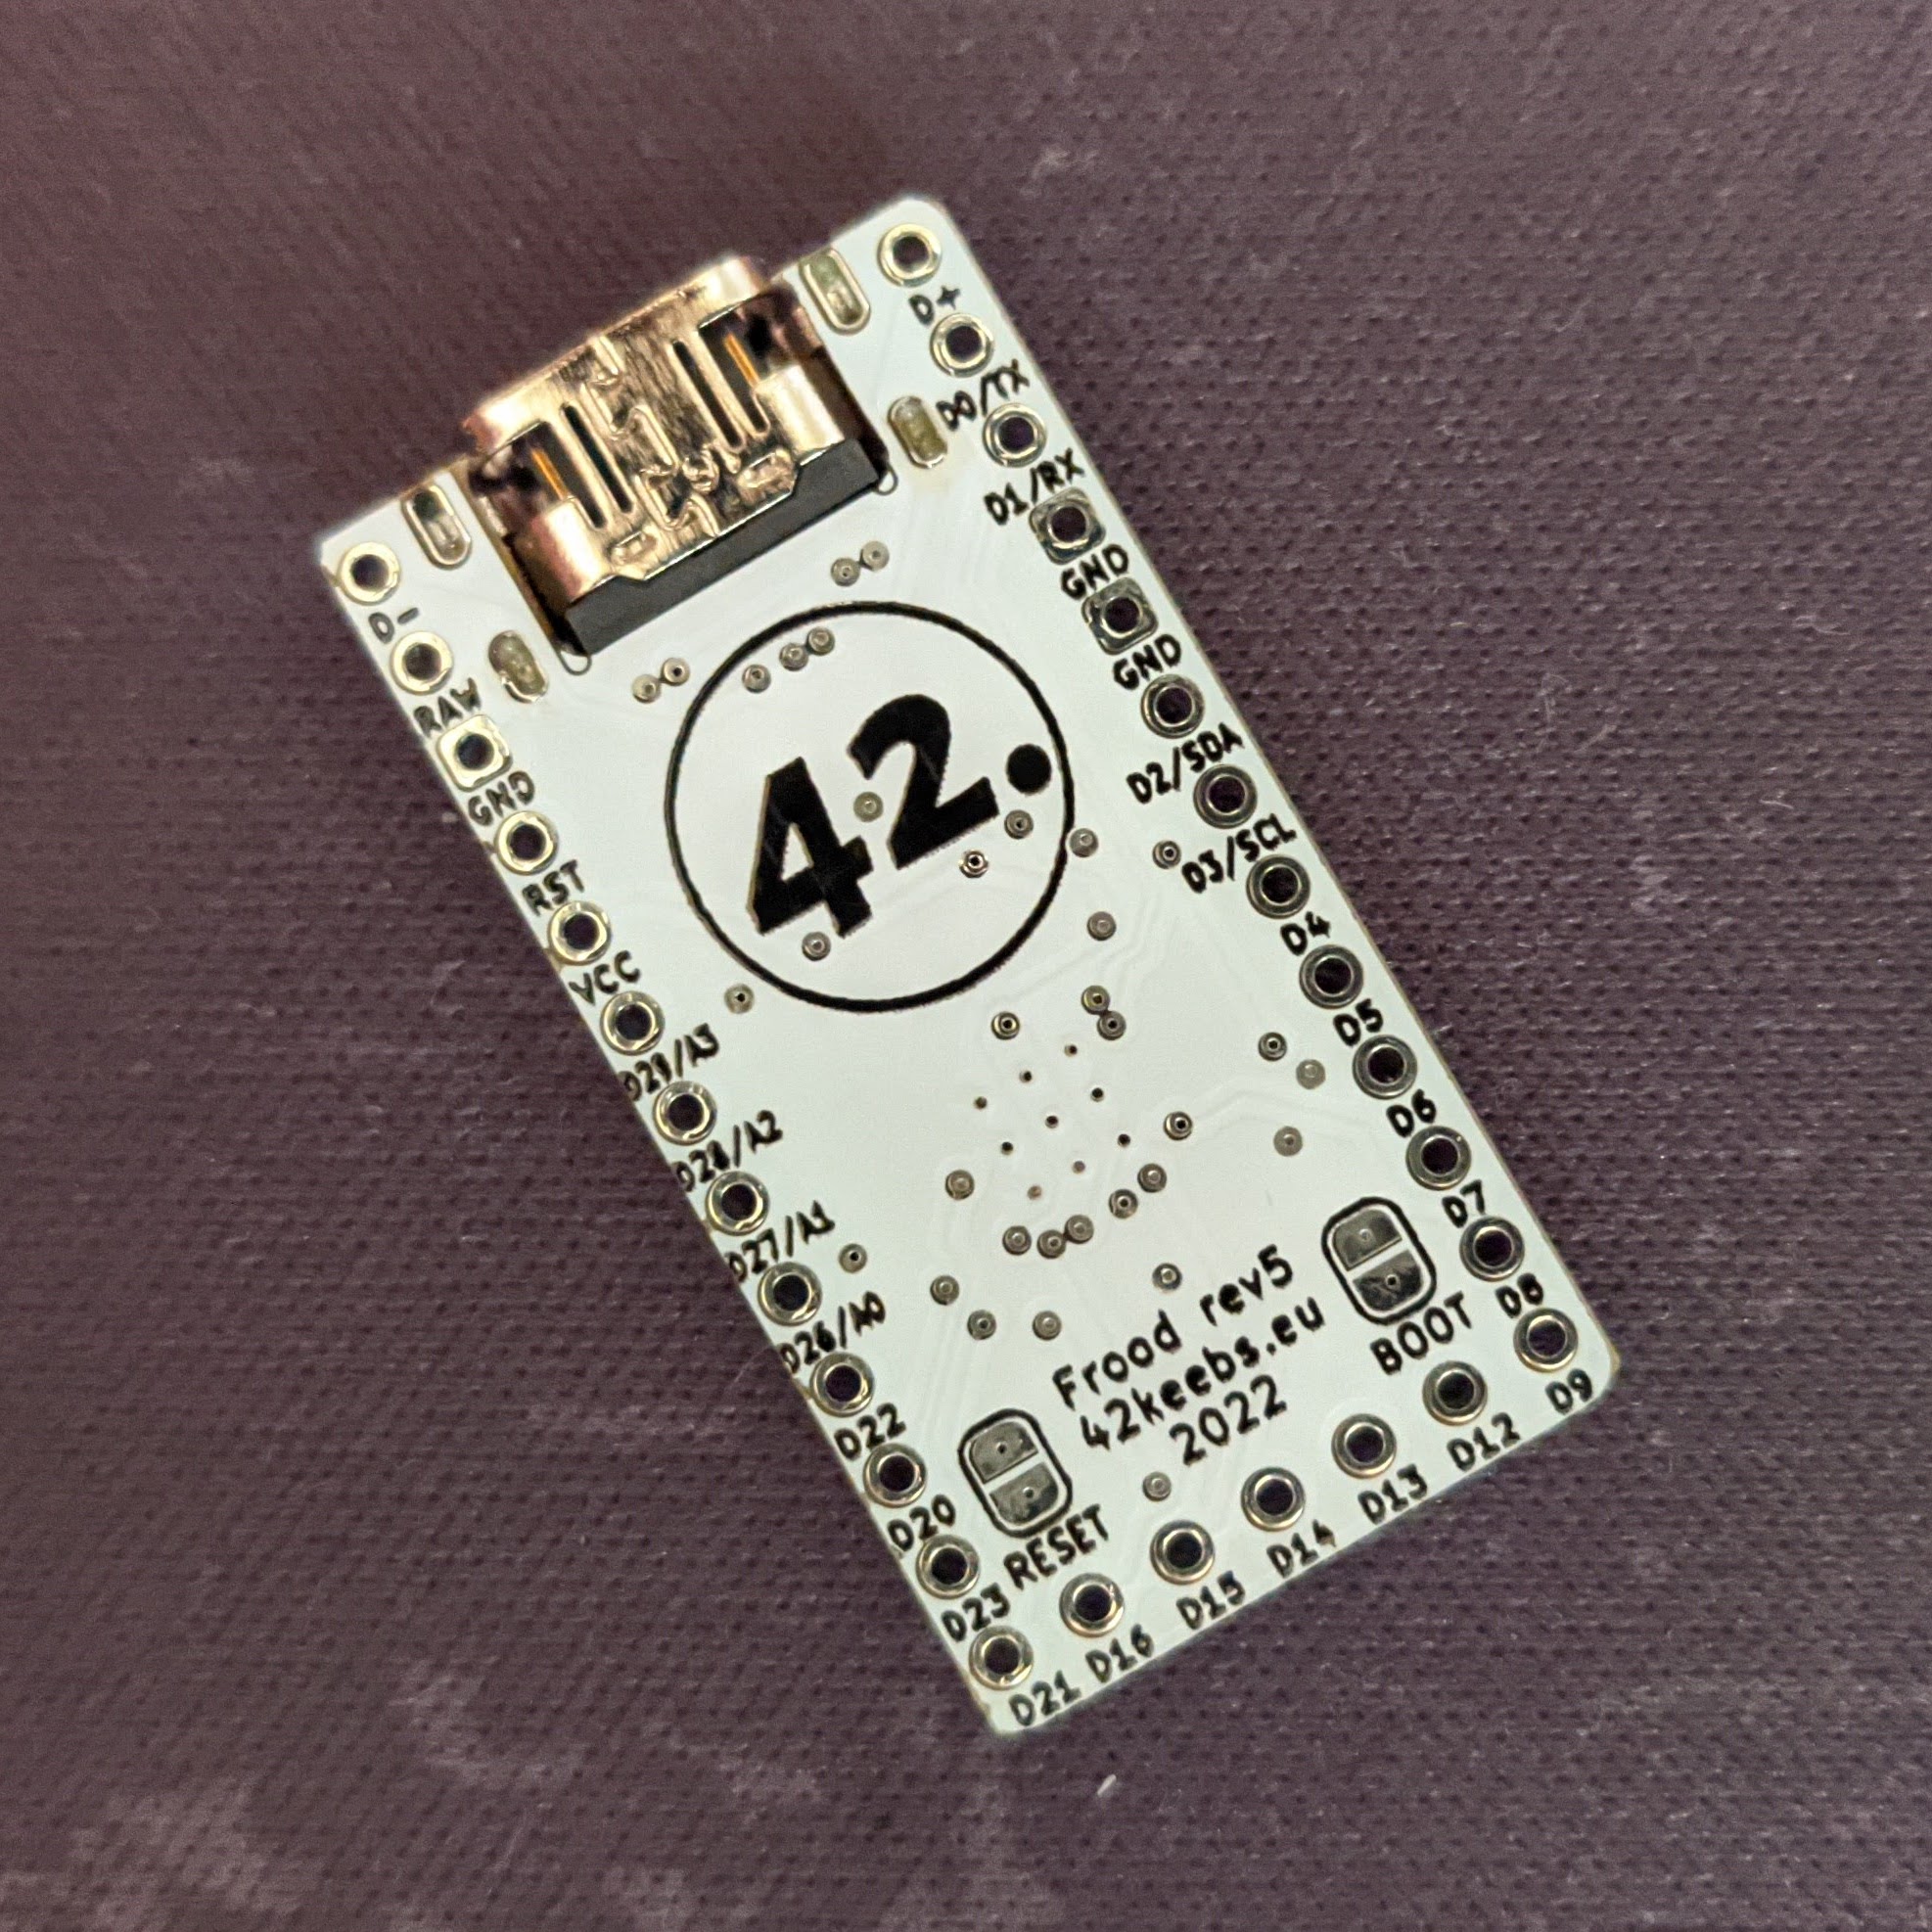
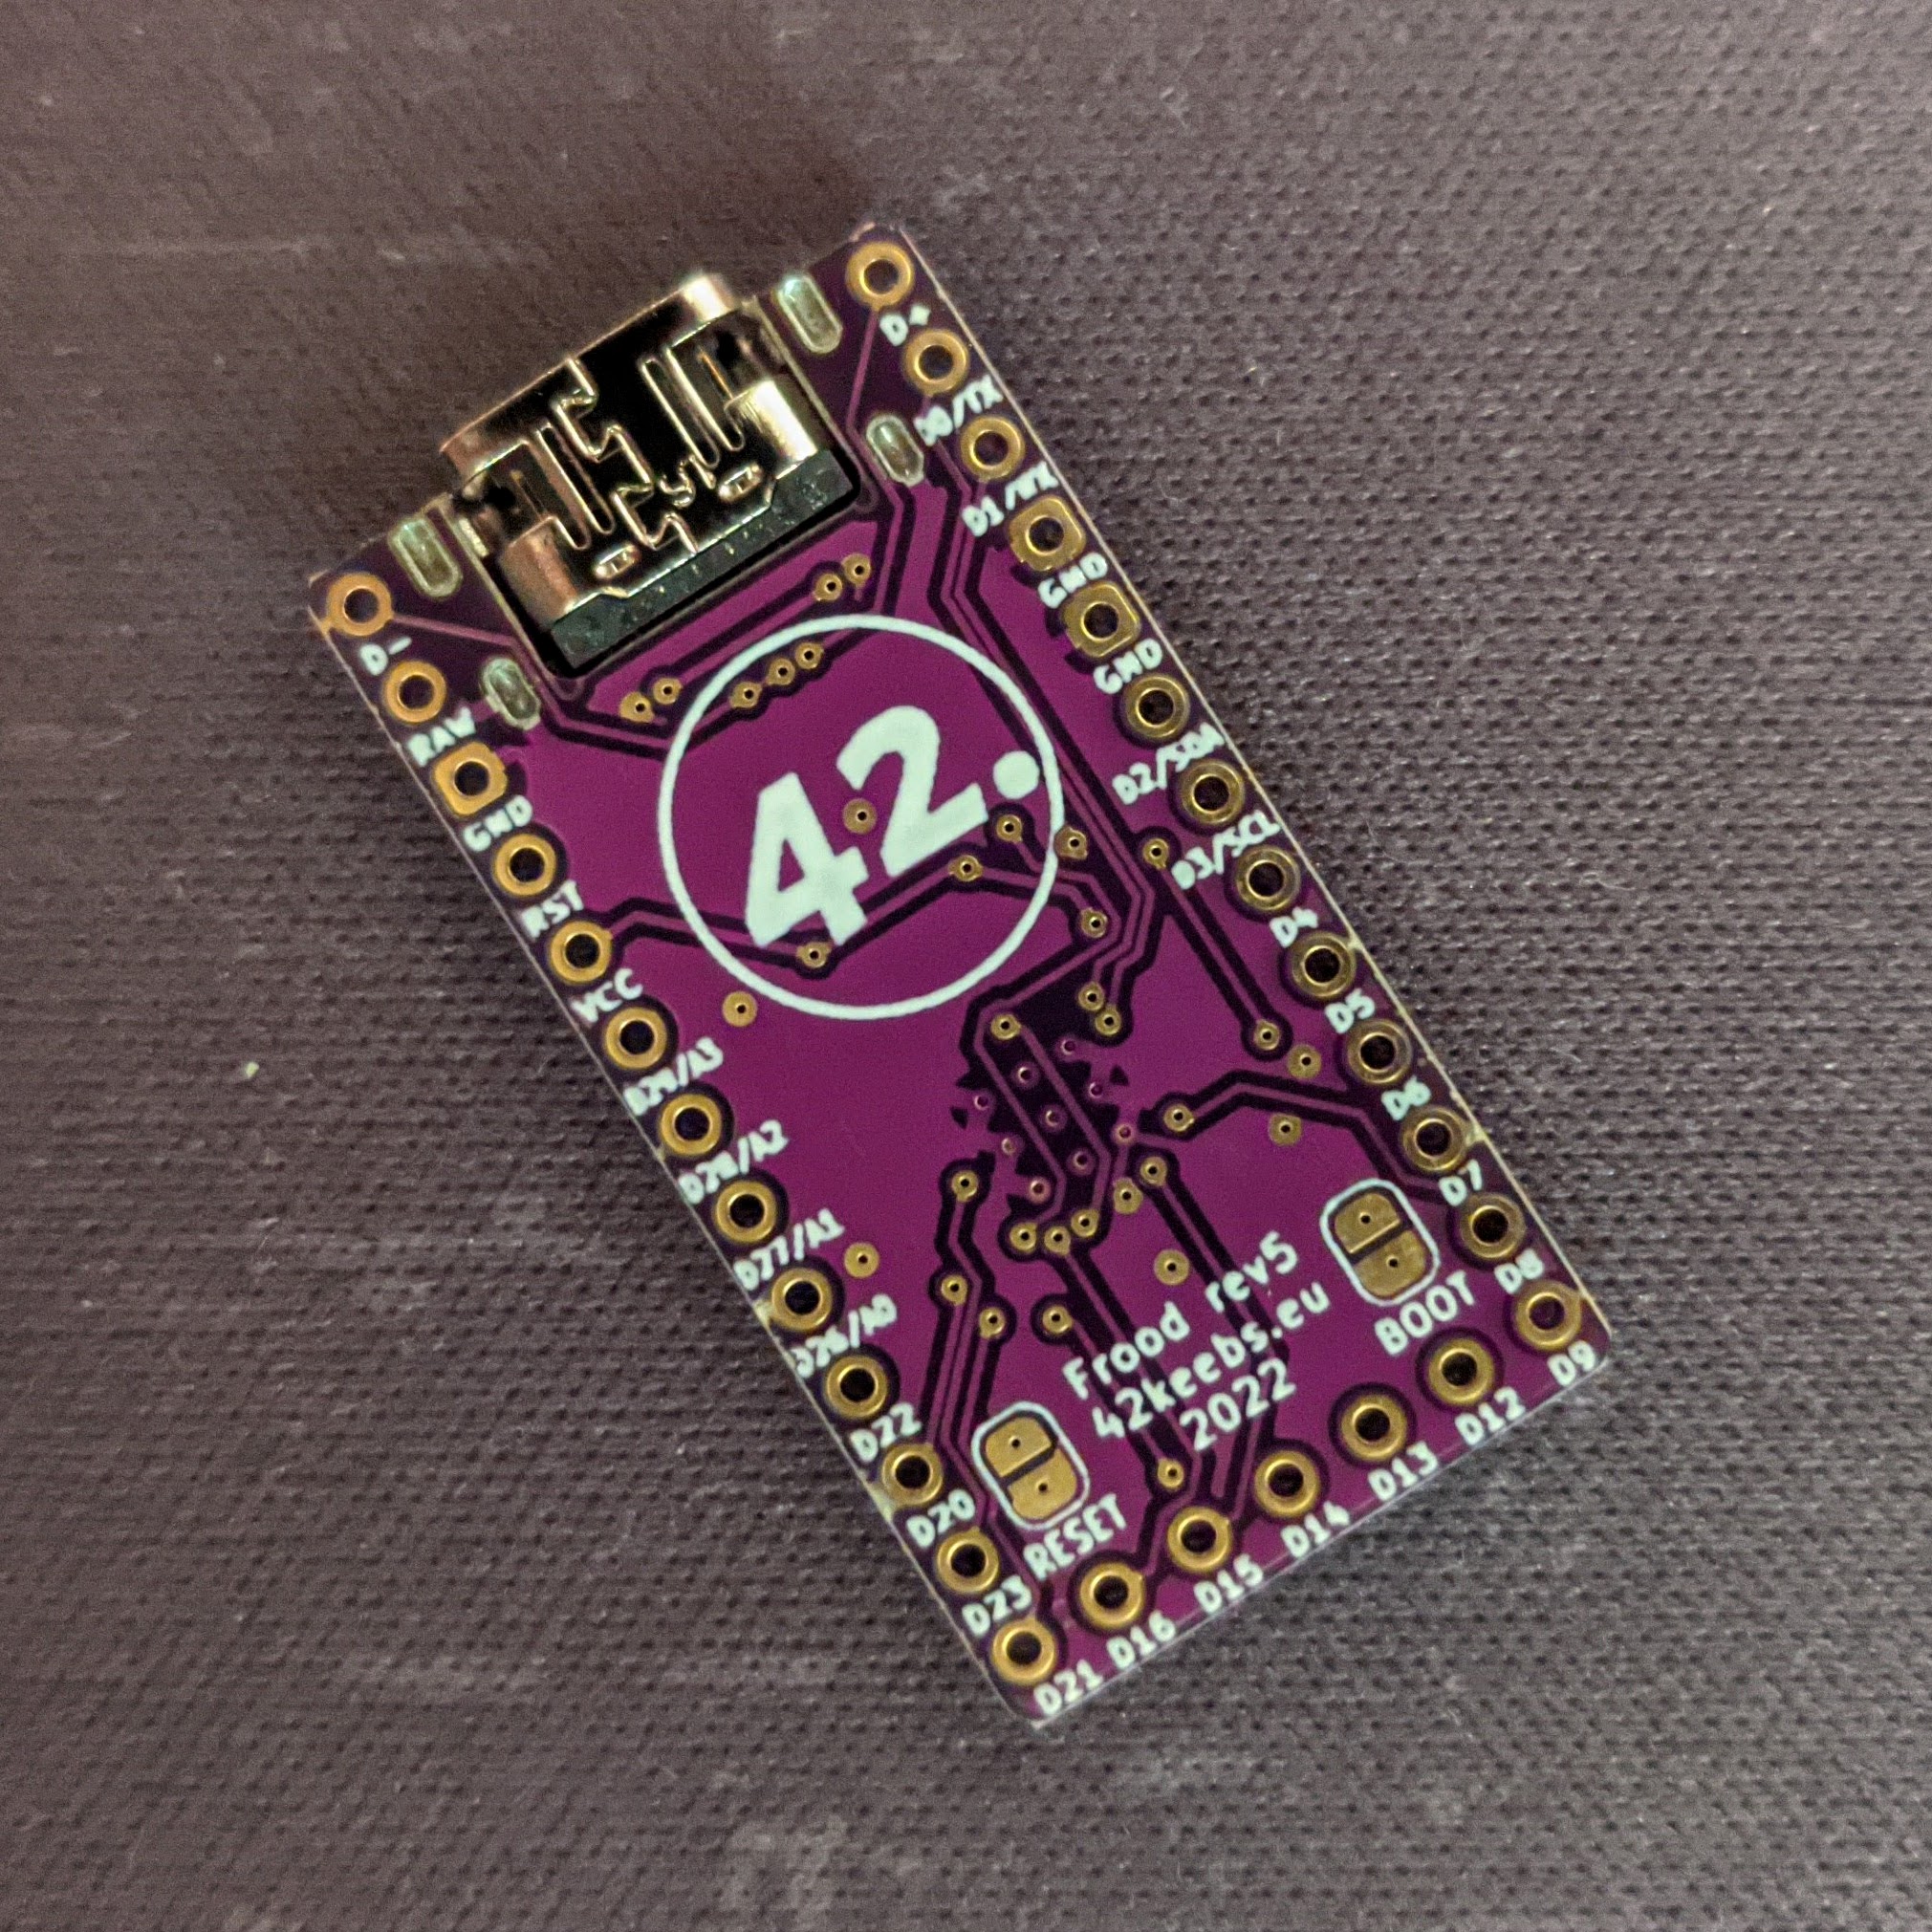
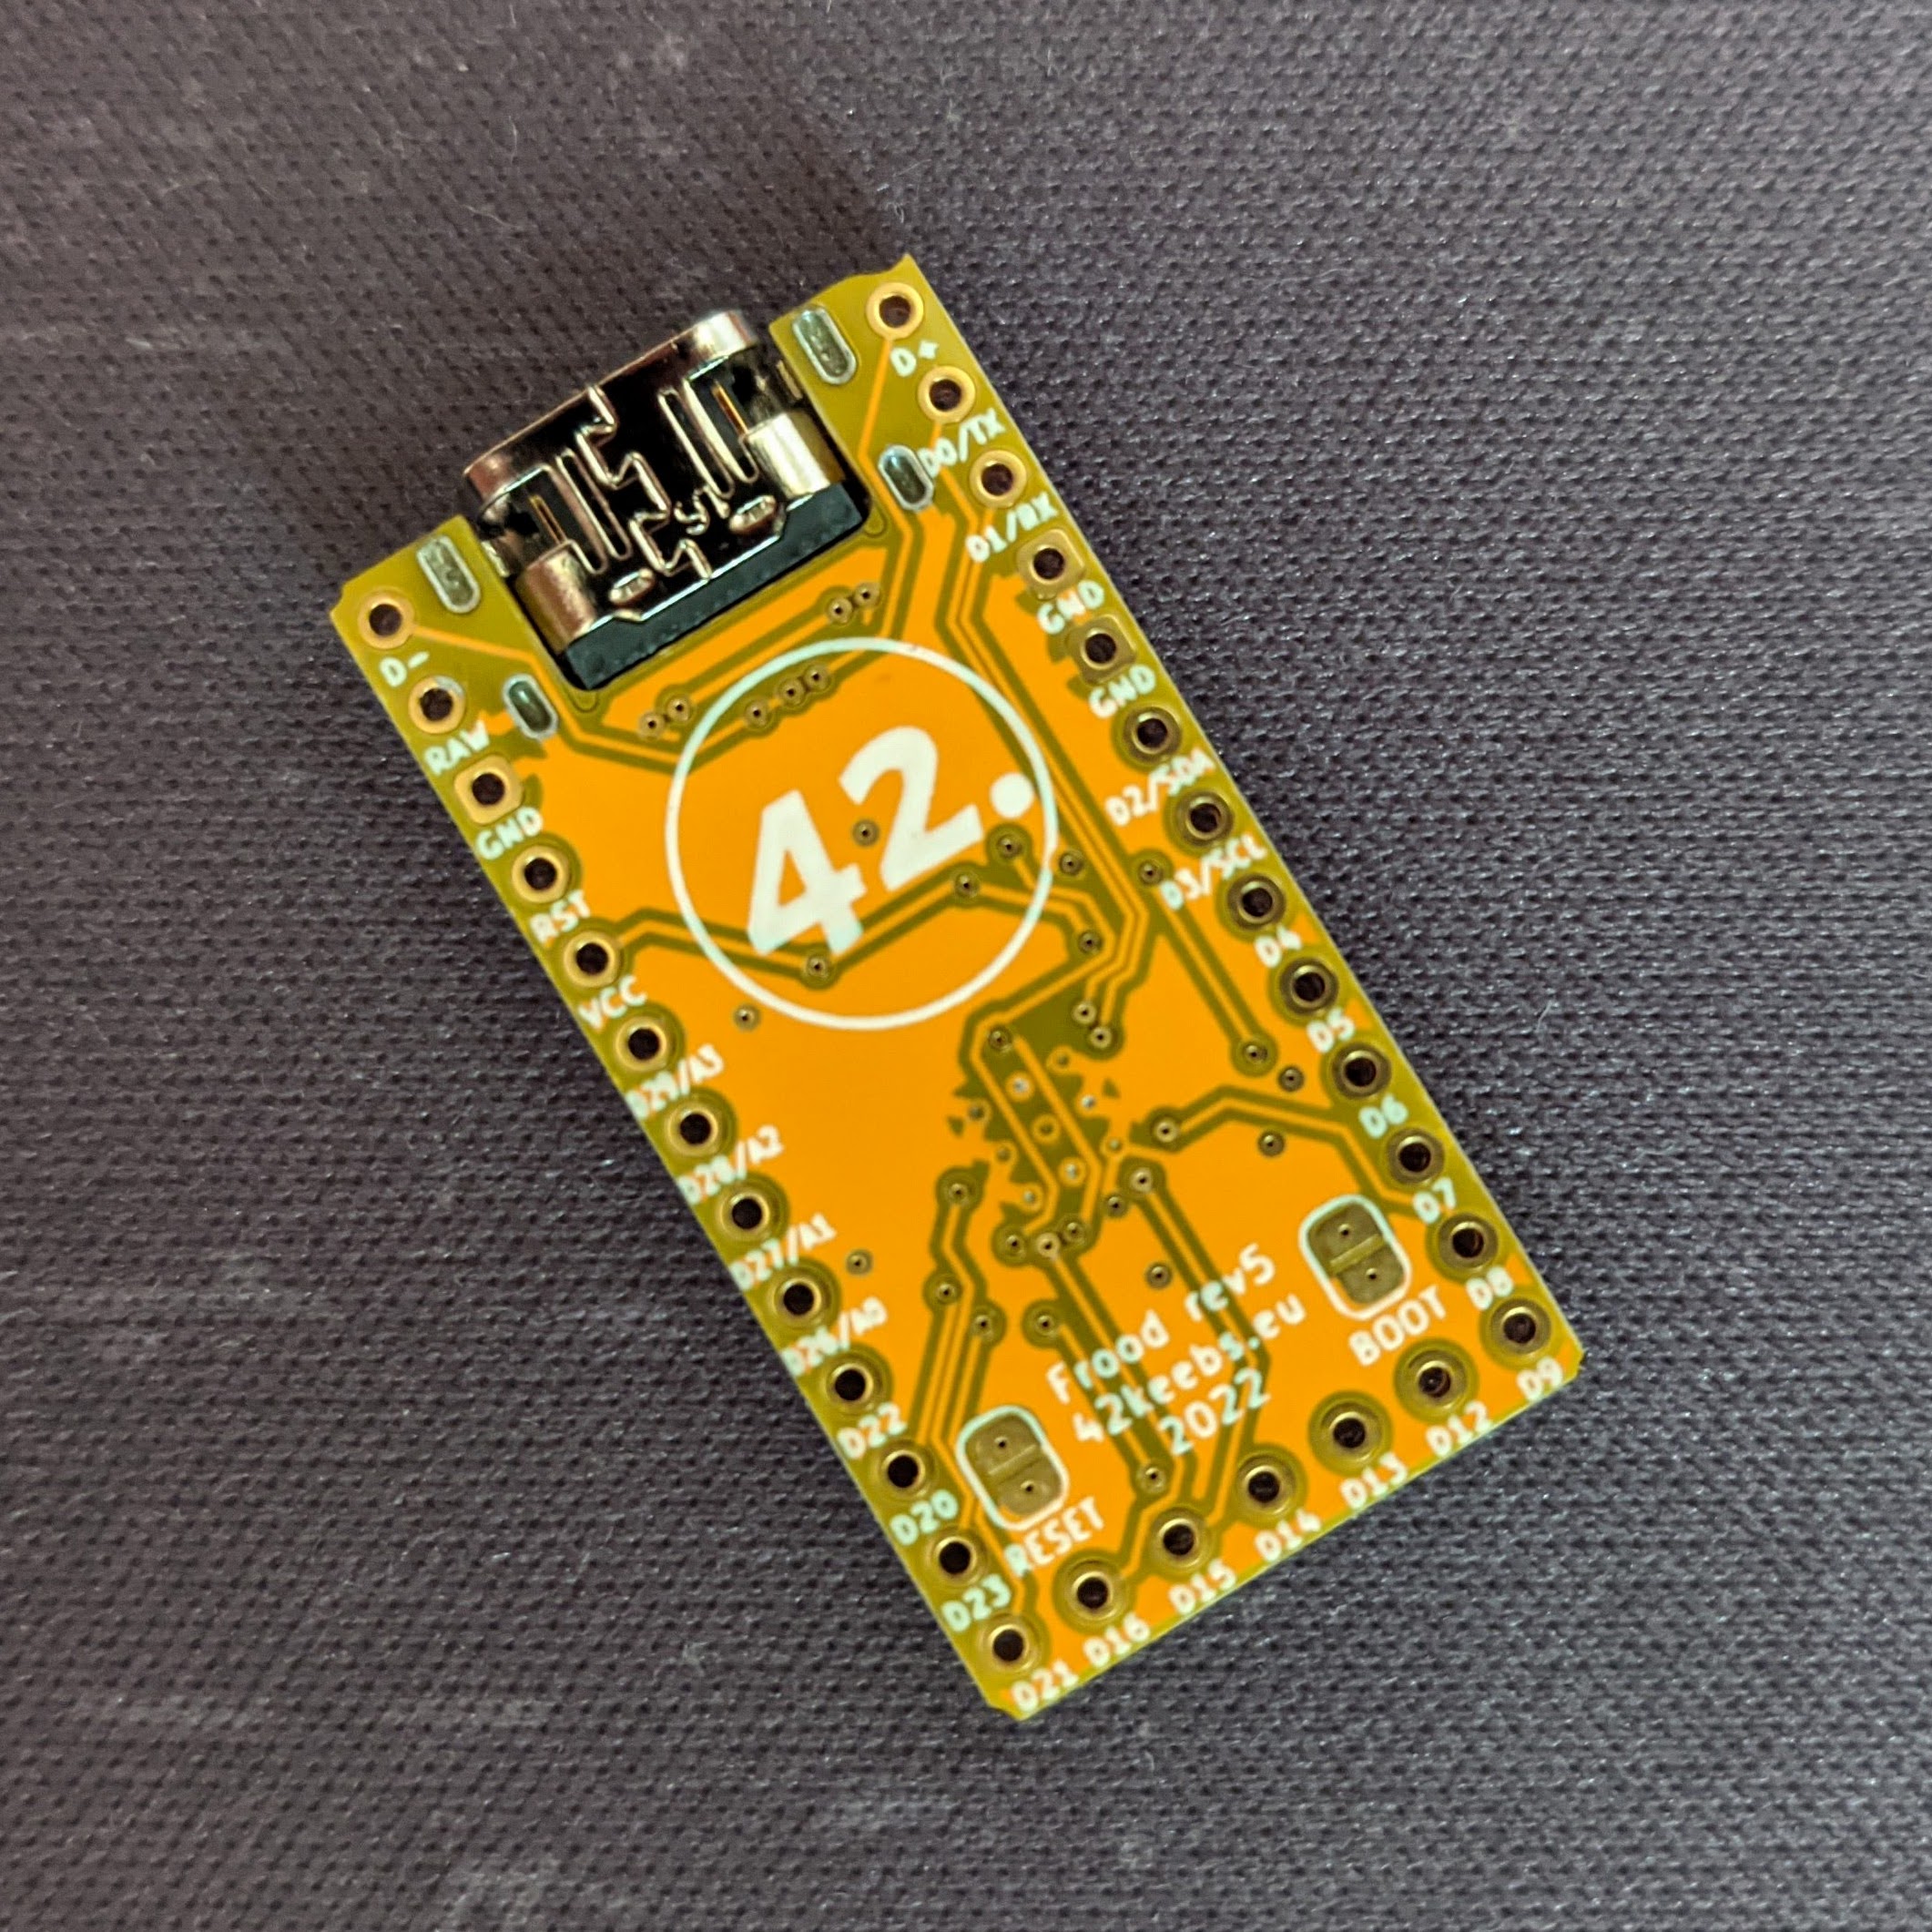
- BOOT/RESET pads on the bottom of the PCB in case the buttons are not accessible (when mounted upside-down)
- Now with official CircuitPython support (Rev5, Rev7 and newer; Rev6 not supported)
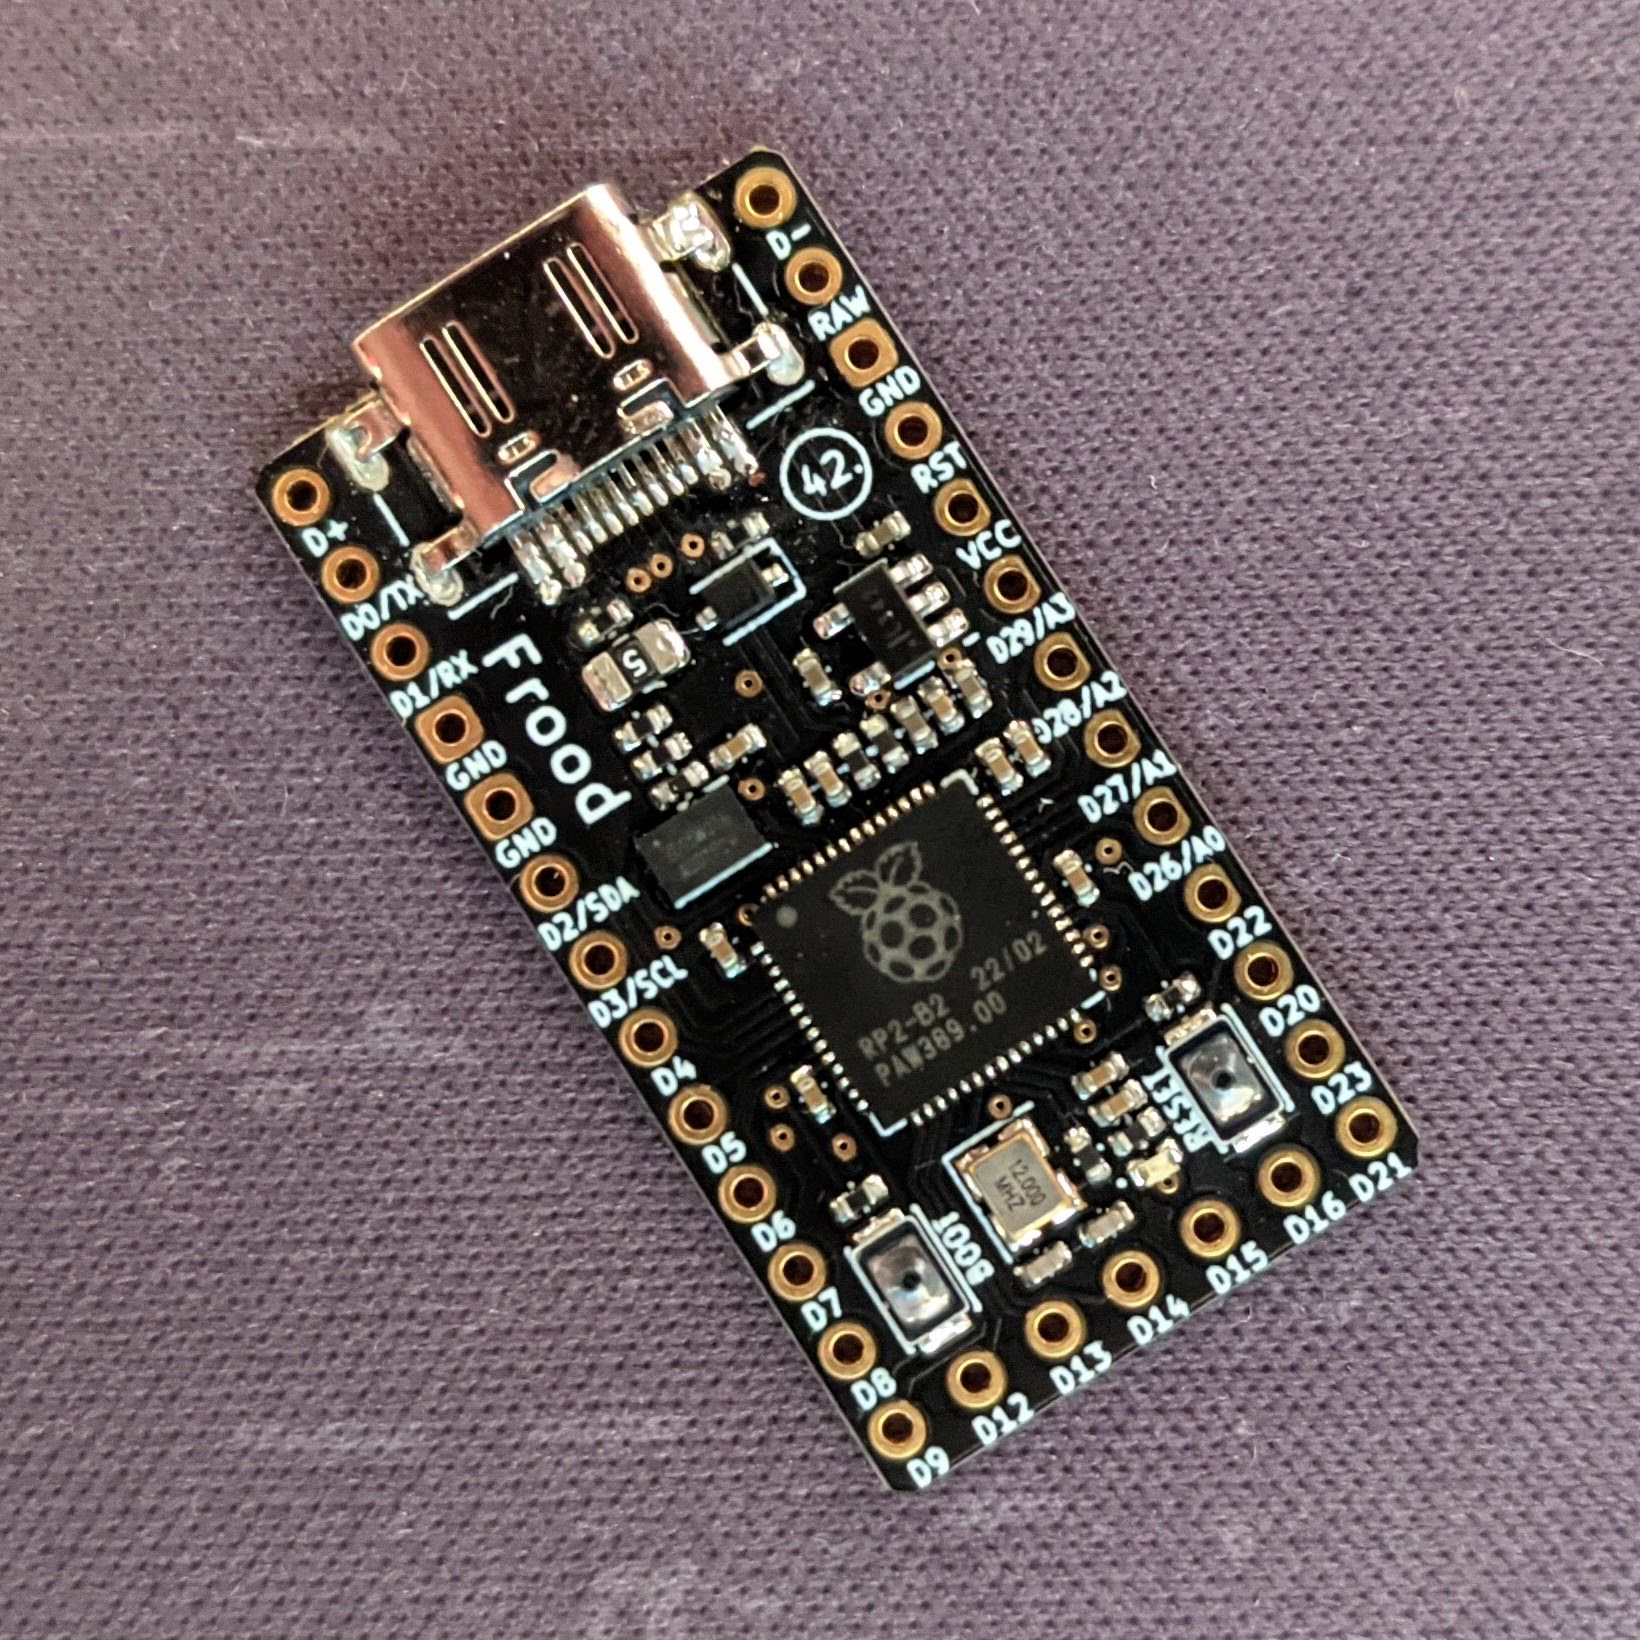
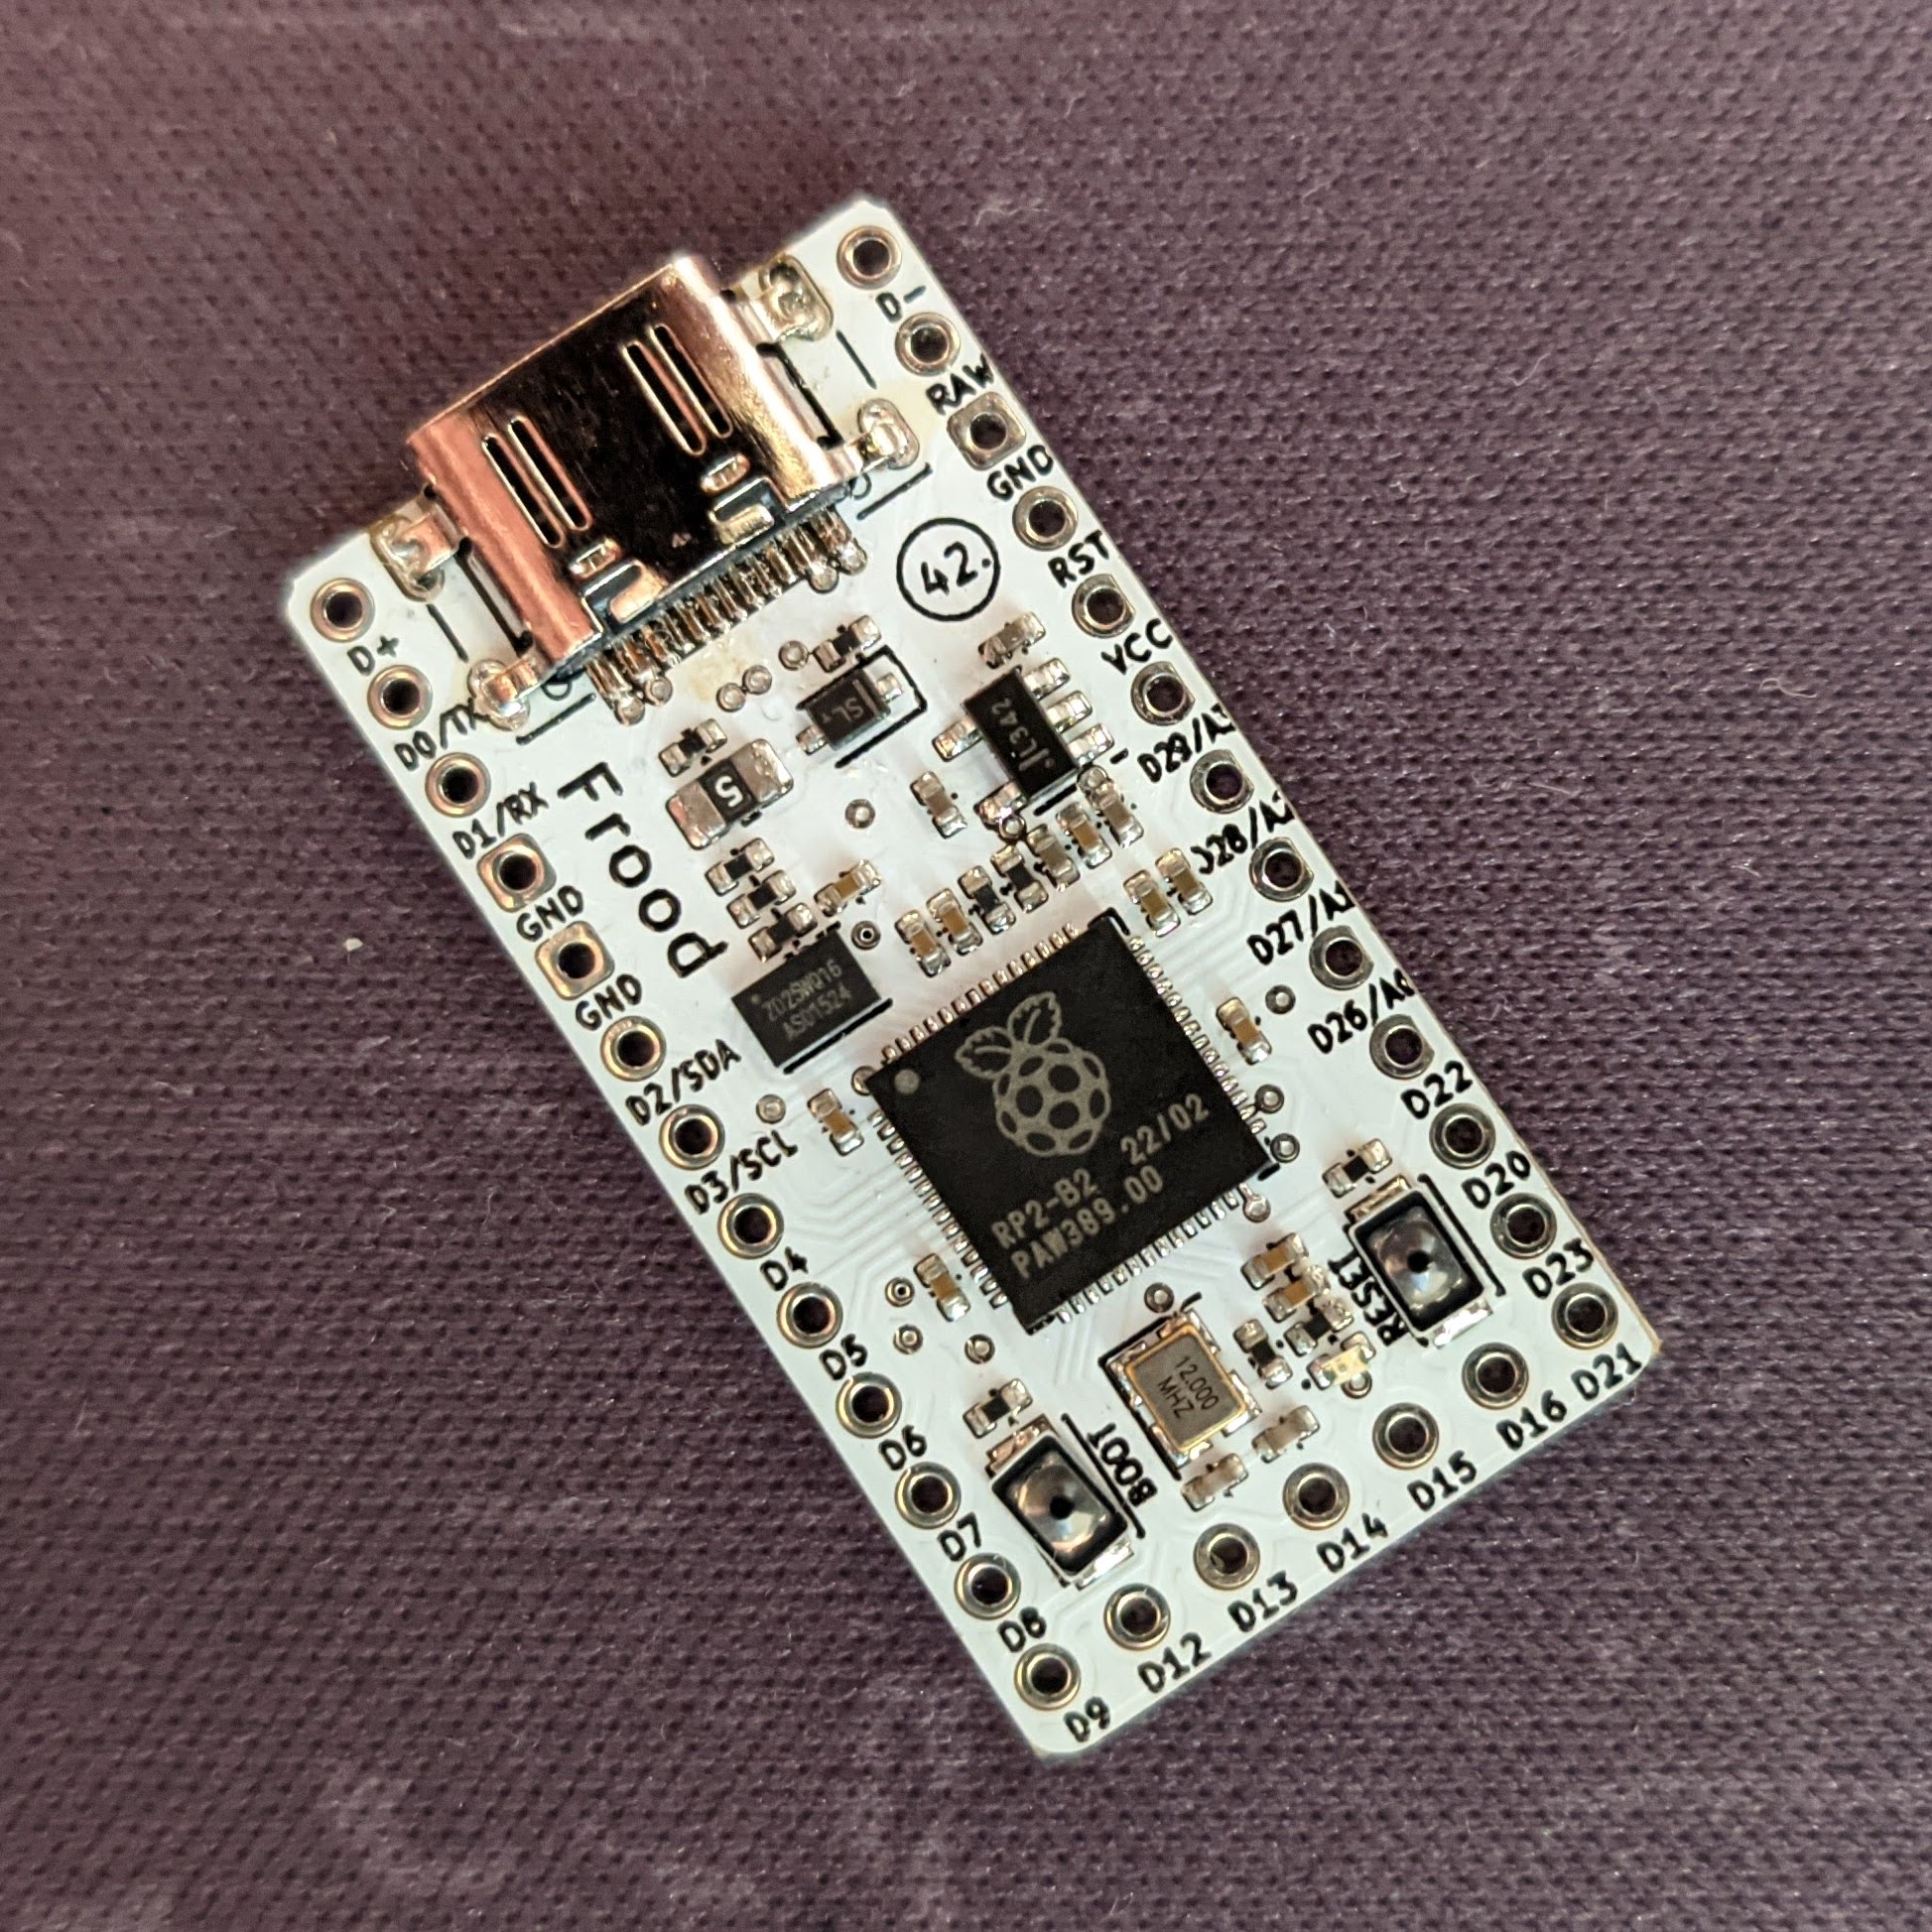
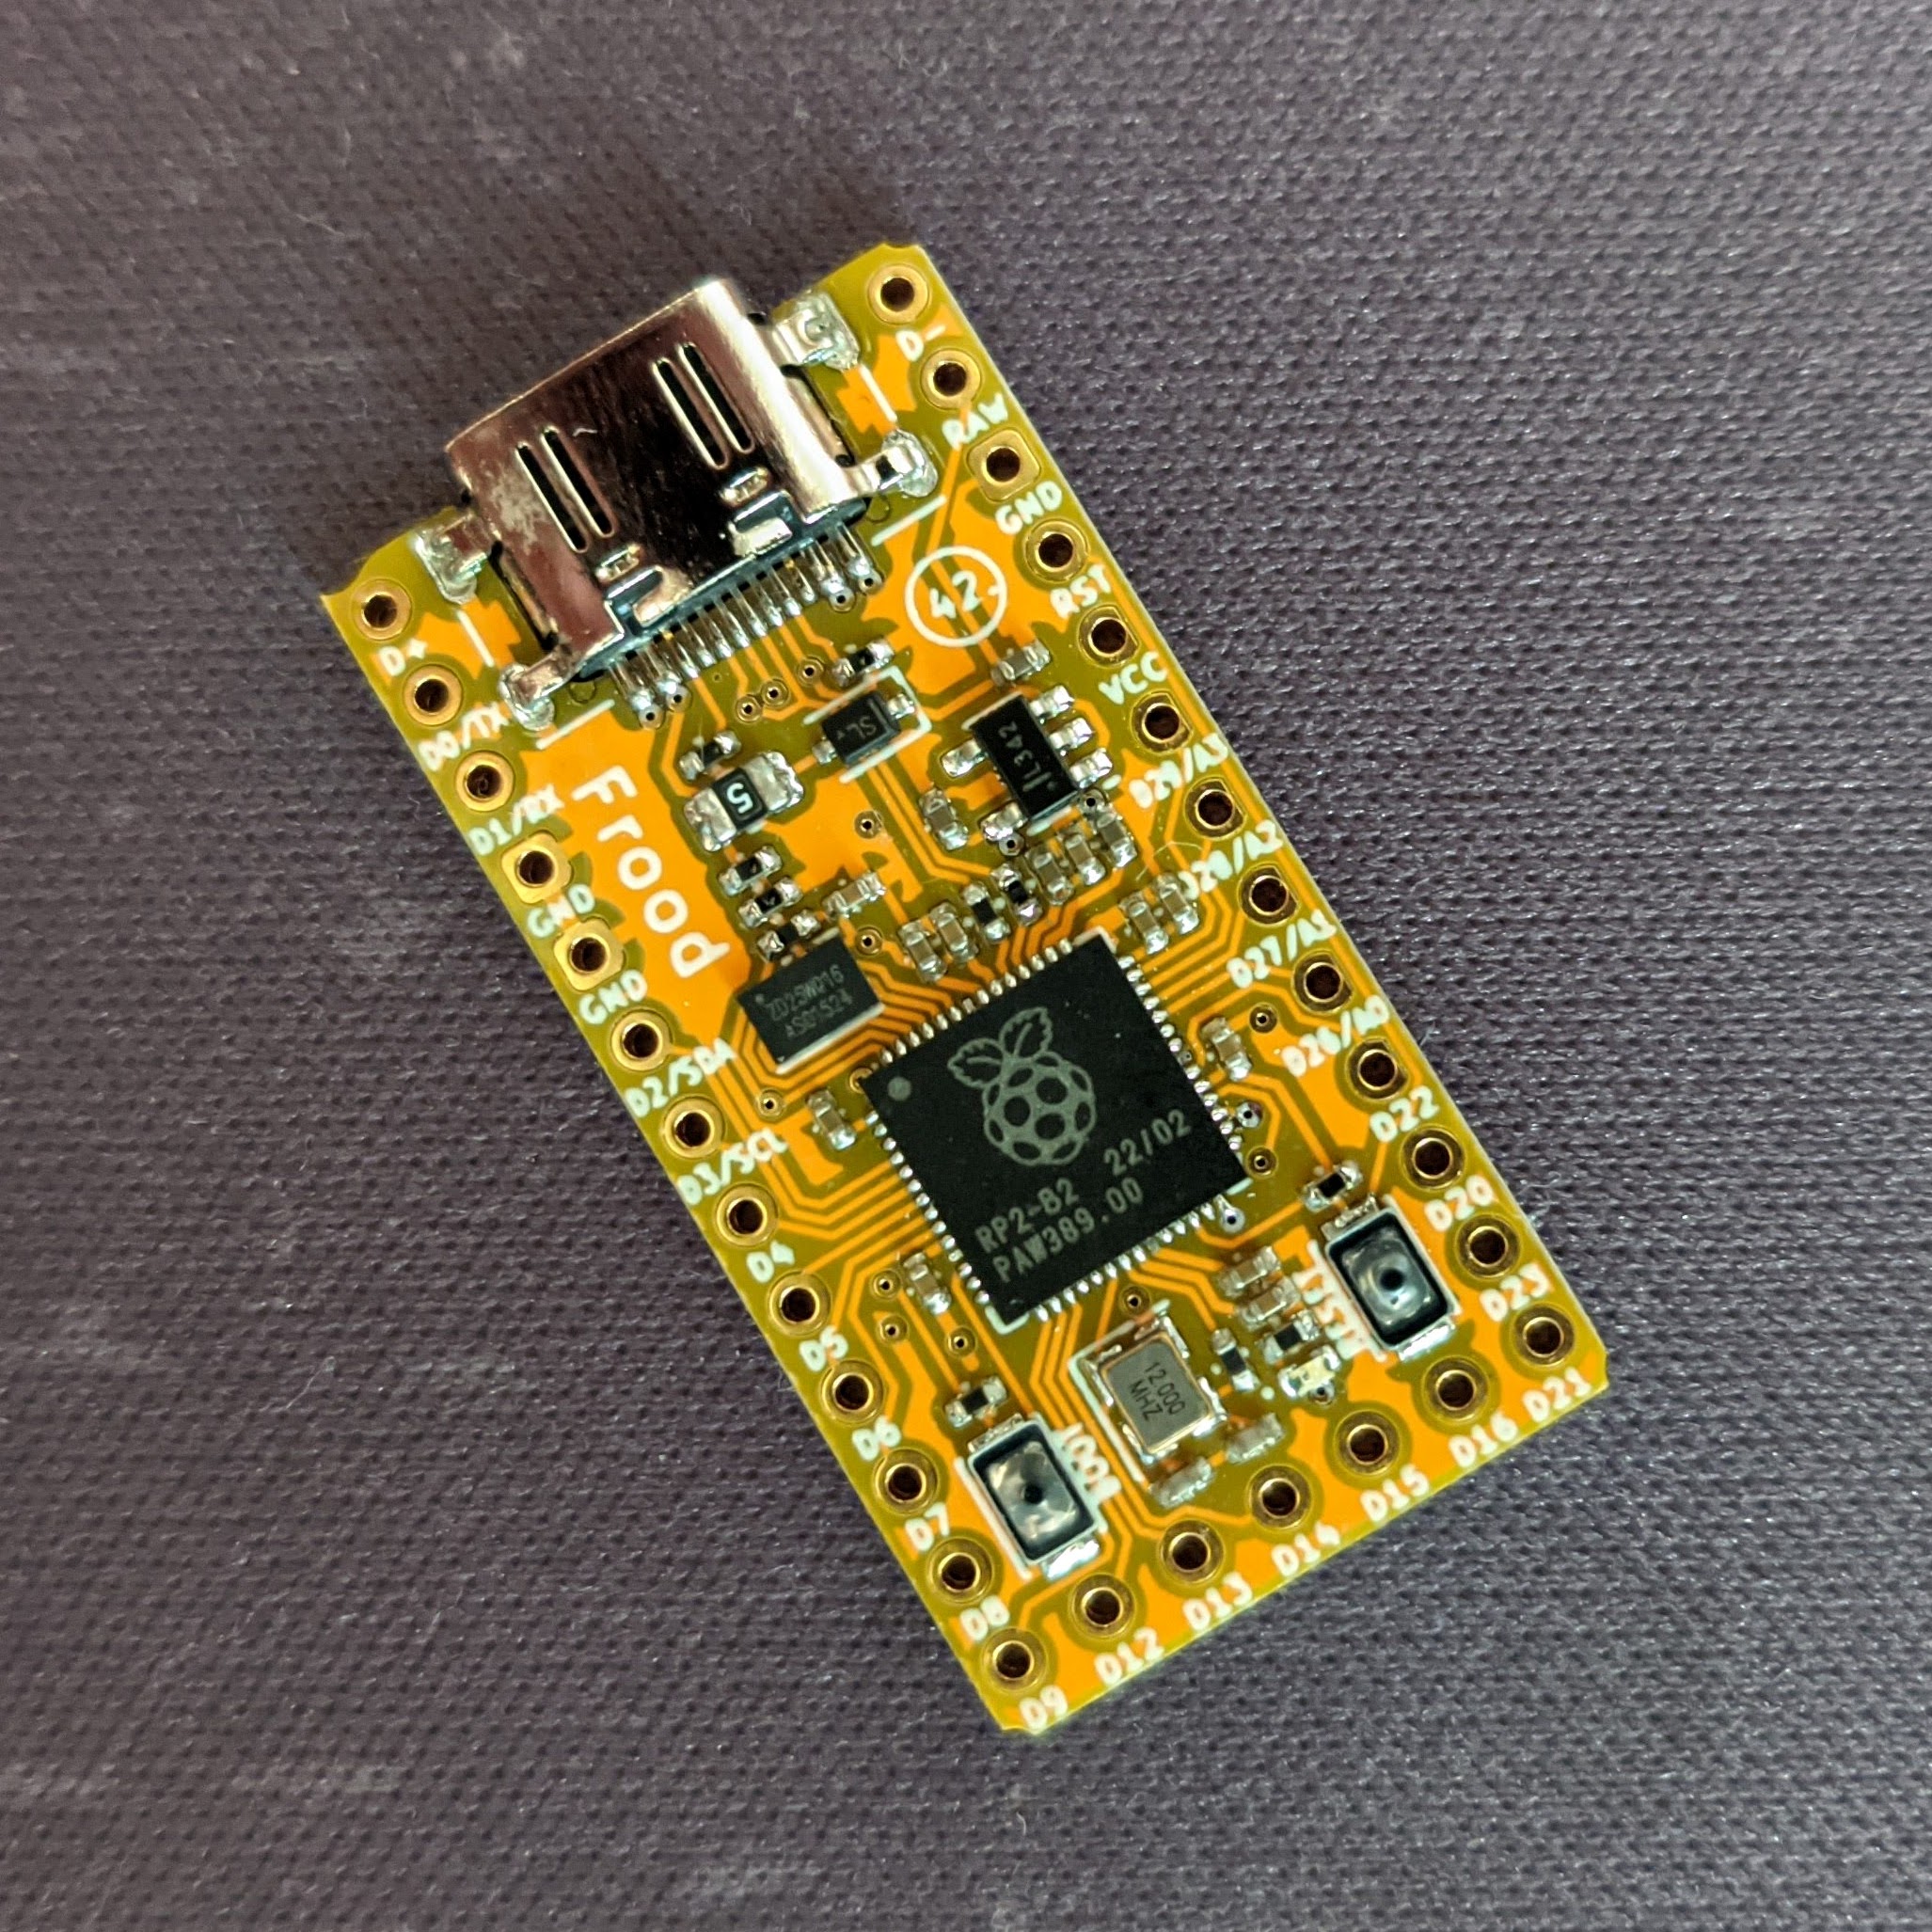
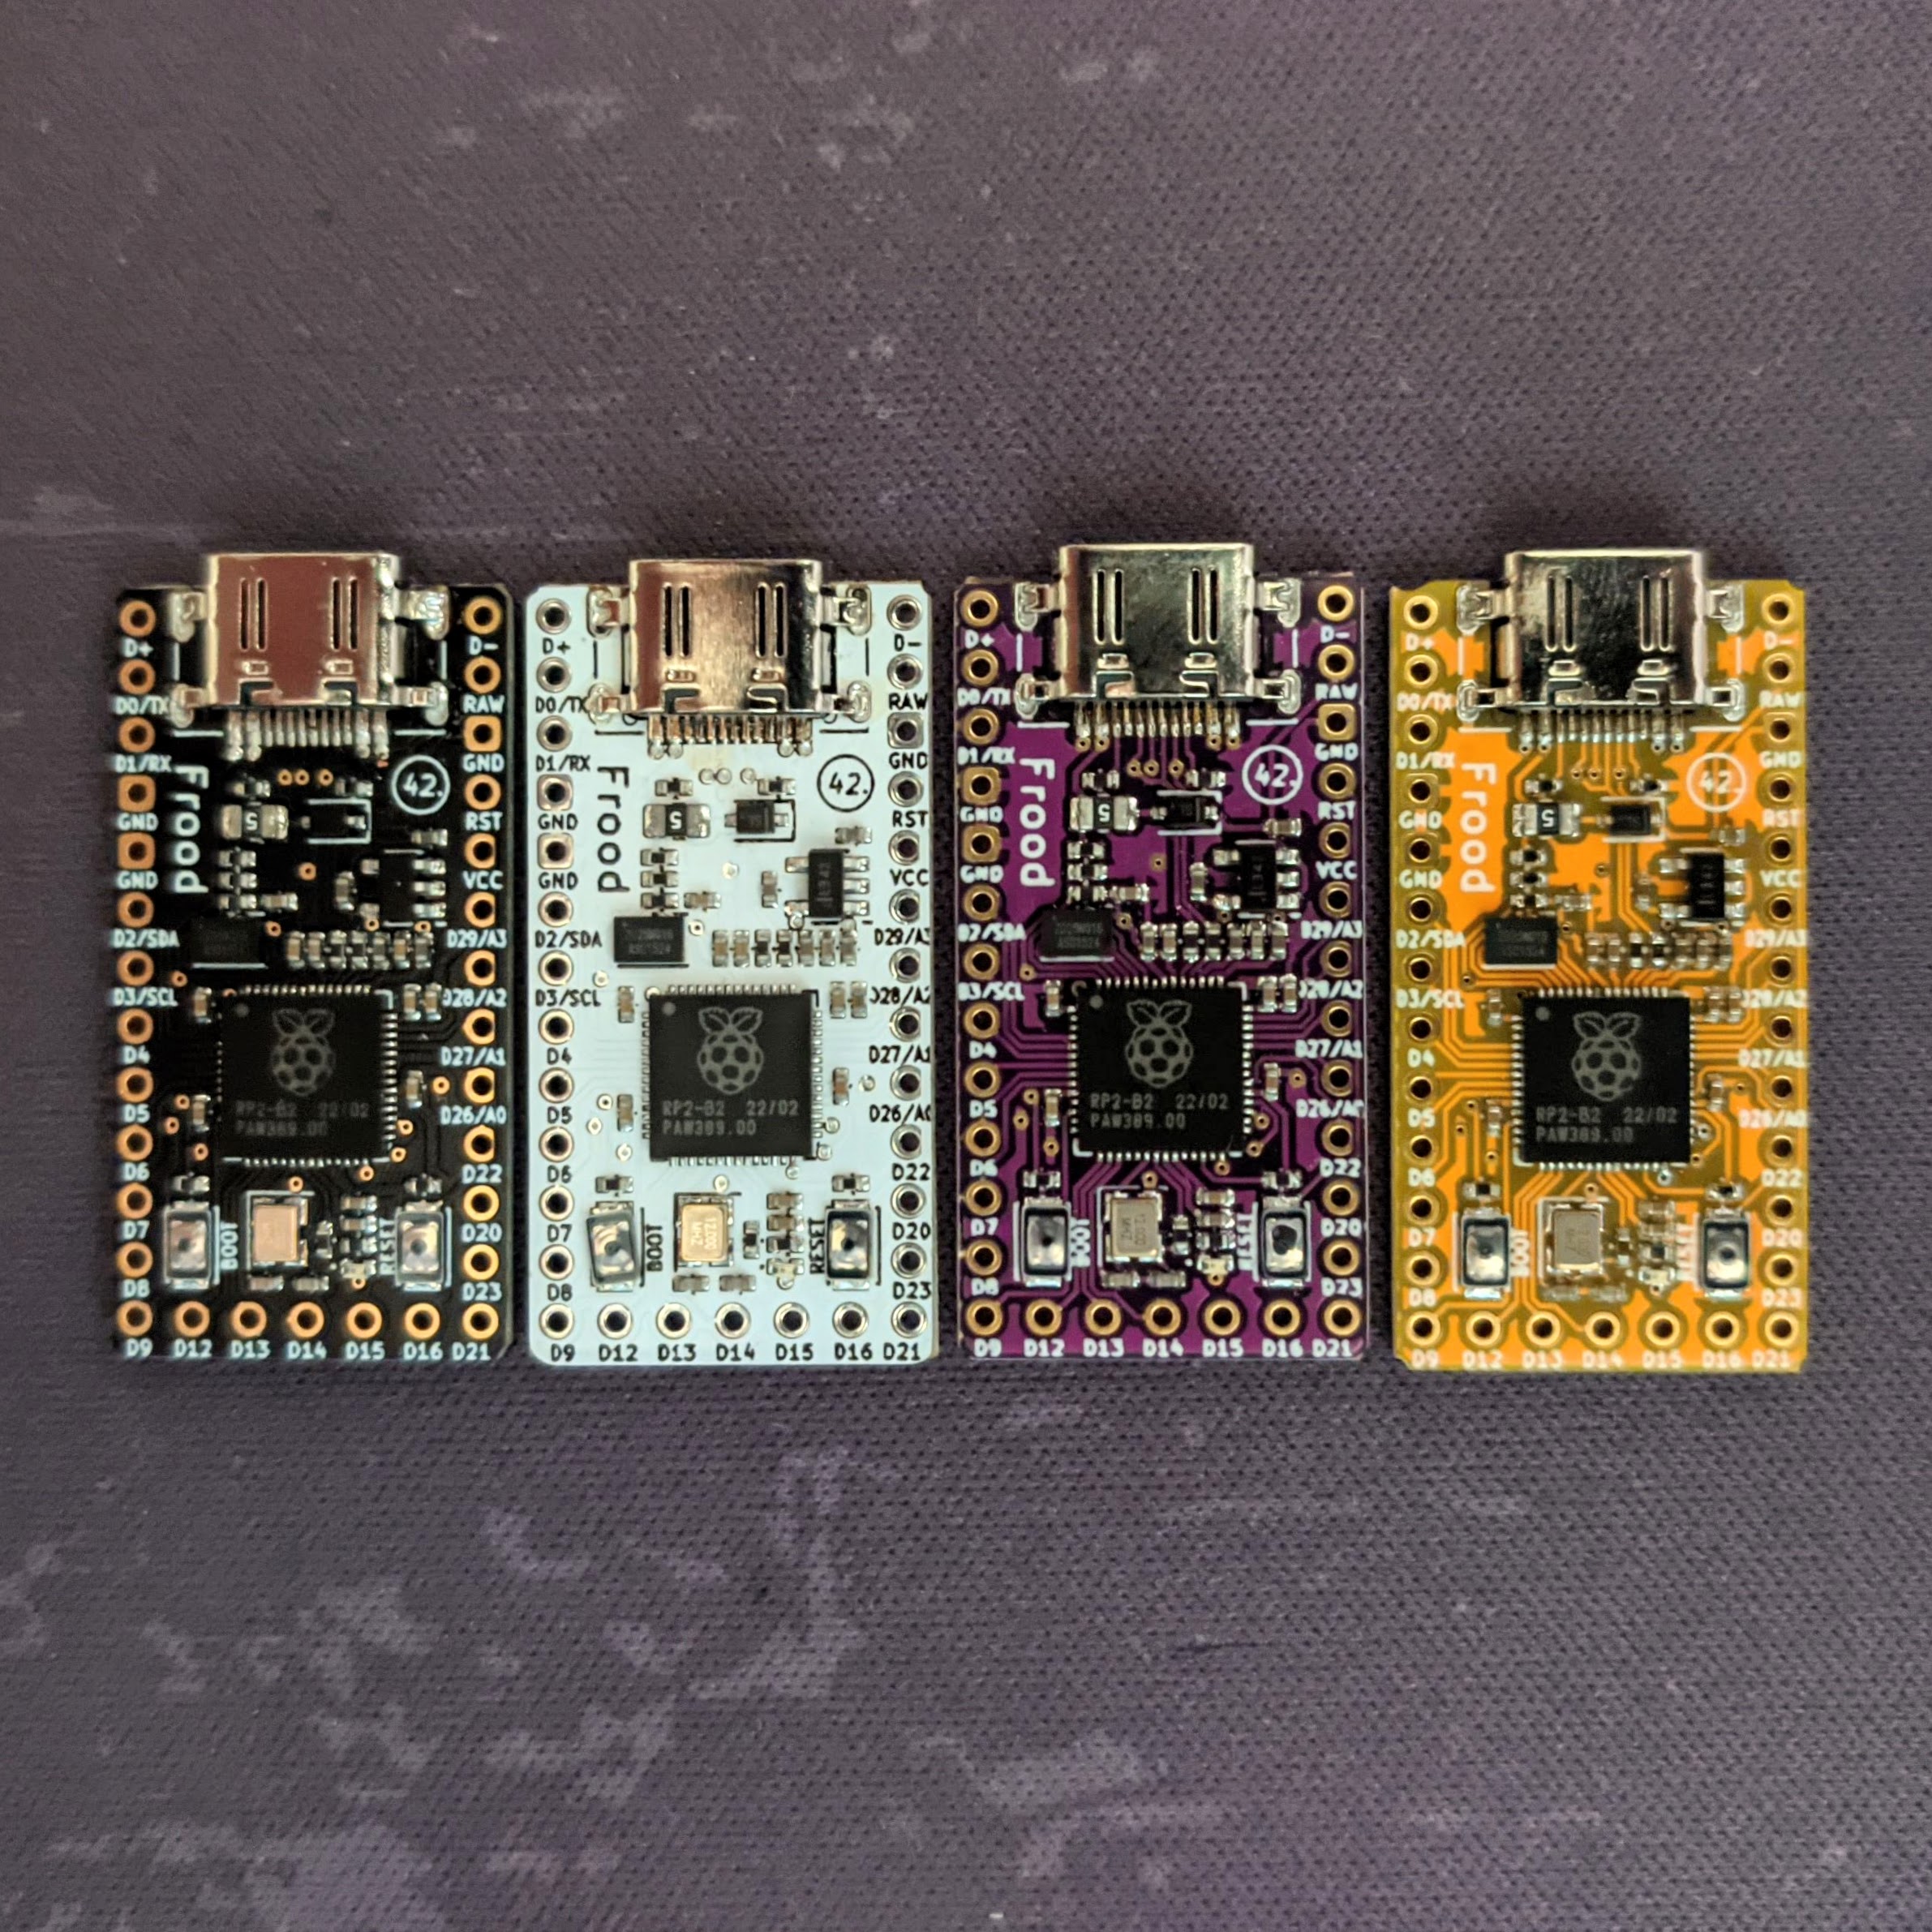
The black is the latest revision Rev9.1, yellow is the alternative latest revision Rev10 (same as Rev9, but using a 4-layer PCB); white is still Rev8.
Please note, like many other modern microcontrollers, it uses a 3.3 V supply voltage and the input pins are not 5V-tolerant. There could be issues with 5 V peripherals – but many will also function correctly at 3.3 V.
Pinout
- Generally compatible with the classic Pro Micro and the SparkFun Pro Micro RP2040
- Extra 5 digital I/O pins along the bottom edge
- New in Rev9: the two GND pins on the left can be converted into two more digital I/O pins by cutting PCB jumpers
- The
Dnlabels on the PCB correspond to theGPIOnI/O pins in the RP2040 MCU (GPnpin definitions in QMK when usingMCU = RP2040). - Pins labeled
A0-A3can be configured as analogue input (12-bit SAR ADC, 500 ksps on a single pin) - Extra pins at the top labeled
D+/D-are USB data lines which can be connected to an external USB socket/daughterboard - Warning: RP2040 I/O pins are not 5 V tolerant and can be damaged by voltage over 3.3V!
Vial Support
You can use our fork of the Vial firmware and simply add one argument to the compile command line to compile any Pro Micro-based firmware:
qmk compile -kb <keyboard_name> -km <keymap_name> -e CONVERT_TO=frood
QMK Support
The Raspberry Pi RP2040 MCU is now fully supported in QMK. All you need to do to make your Pro Micro-based kit work with the Frood is to add the following define when compiling QMK (please also see the note about Rev6 above):
CONVERT_TO=rp2040_ce
(In previous versions of QMK this was CONVERT_TO=promicro_rp2040)
This can either be added to the rules.mk file in your keymap’s folder, or defined directly on the QMK command line:
qmk compile -kb <keyboard_name> -km <keymap_name> -e CONVERT_TO=rp2040_ce
If it works correctly, you will be able to find the file <keyboard_name>_<keymap_name>_rp2040_ce.uf2 in the main QMK folder.
You might also want to add the following line to the config.h file for the orange LED to work as a bootloader mode indicator:
#define RP2040_BOOTLOADER_DOUBLE_TAP_RESET_LED D5 // Specify an optional status LED by GPIO number which lights up when entering the bootloaderFlashing
- To enter the bootloader mode:
- A fresh/brand new controller will enter bootloader mode automatically
- Press and hold the BOOT button (on the left) and then briefly press the RESET button (right)
- With a correctly configured QMK/Vial firmware flashed, double-press the RESET button to enter bootloader mode
- This should present the Frood as a USB Mass Storage (a.k.a. USB flash drive) to the system
- Mount it and copy the .uf2 firmware file to the drive. This should start the flashing process immediately and the storage device will disconnect
- That’s it!
Alternatively, to avoid issues with the mounted device disconnecting unexpectedly in Linux:
- Enter bootloader mode as above
- Run
lsblkin the console to carefully identify the correct drive – you should find a “128 MB” drive (not really) similar to this:sdx 8:48 1 128M 0 disk └─sdx1 8:49 1 128M 0 part
You want to use the disk device, not the partition (sdx in the example above, not sdx1)
- Flash the firmware by copying the file directly to the main drive – make sure to use the correct device name as you could potentially overwrite the beginning of your main drive!
cat <keyboard_name>_<keymap_name>_promicro_rp2040.uf2 | sudo tee /dev/sdx > /dev/null # <- substitude your correct device name here
or
sudo dd if=<keyboard_name>_<keymap_name>_promicro_rp2040.uf2 of=/dev/sdx # <- again, substitute your correct device name - The flashing should start immediately. The mass storage device will disconnect and the new keyboard device should then connect right away.

Aitor Zabala (verified owner) –
Very good (almost) drop in replacement for a ProMicro, HUGE capacity and performance.
Able to enable all settings, nooks and crannies in VIAL without compromise.
Sergio Bra Alvarez (verified owner) –
Its perfect!
it doesn’t work with .hex files, it needs uf2 files. If you can’t figure it out ask 42keebs support, they are super nice and are there to help you!